
One of my Wood Badge ticket items was to build a chuck/patrol box for Pack 98 to use for storing cooking equipment, utensils, some dry goods and the reusable plates, bowls, cups and silverware that I bought for another ticket item.
 My inspiration for a patrol box was taken from several boxes that Troop 101 has for their youth patrols and the adult patrol. The adult box had very simple construction, simple hinges, handles and a latch for the door.
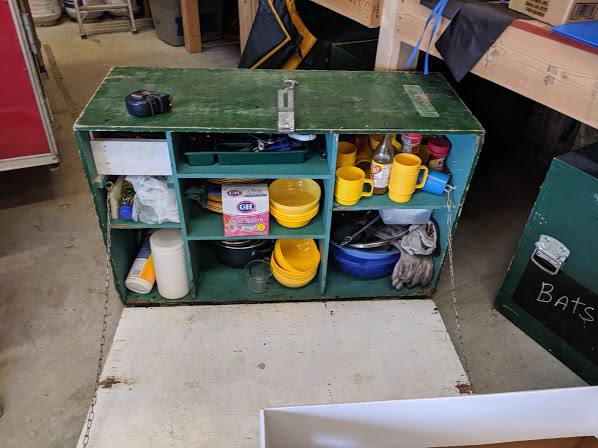
 After taking some exterior measurements of the box and sketching on paper, I used recycled cardboard sheeting to make a mock up to verify that what I wanted to have fit in each place actually fit there. On the right side of the mock up are the set of nesting pots that really started this project, they needed a better storage location than the beat up cardboard box they came in and always seemed to be in the wrong part of our storage trailer.
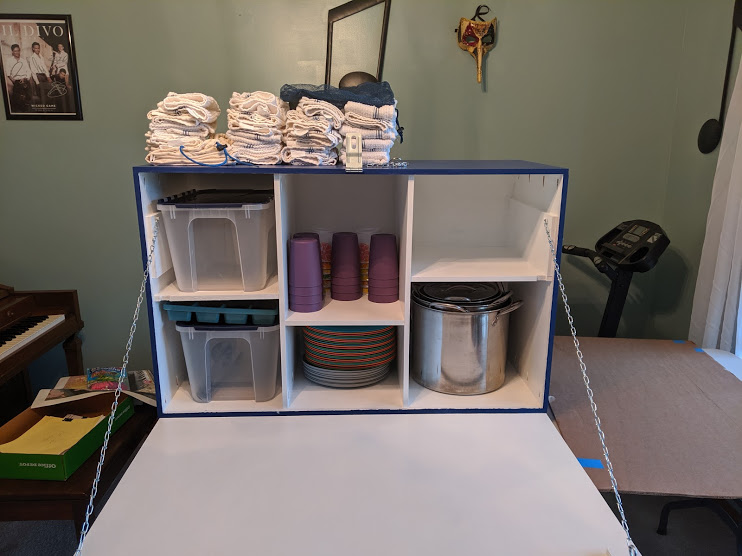
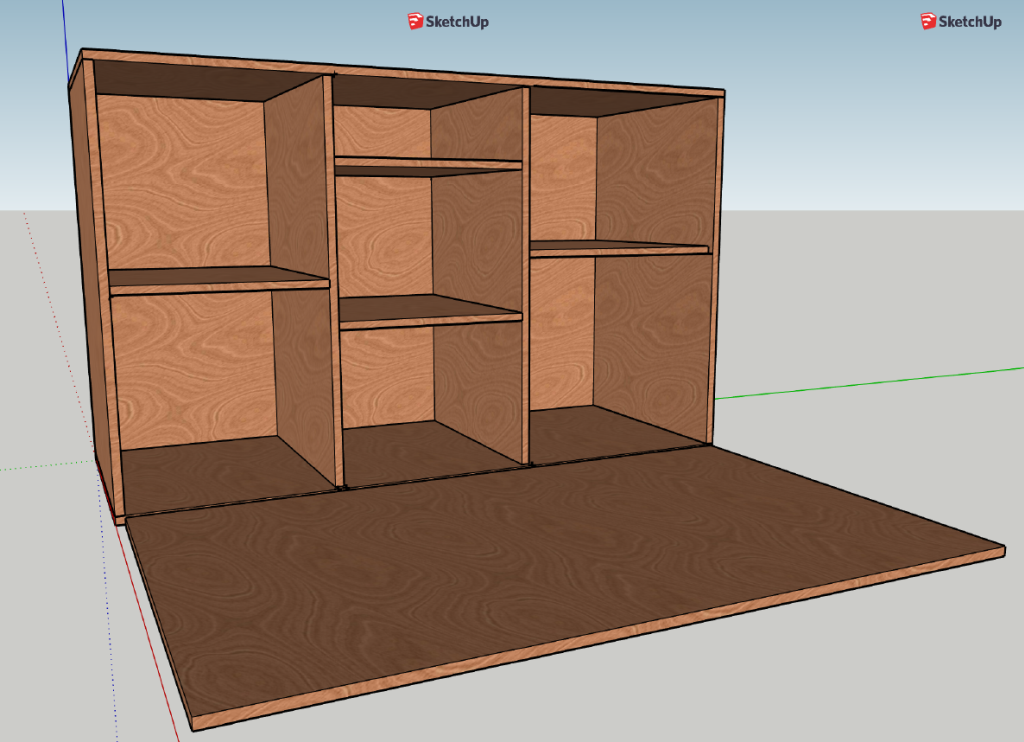 Next, I thought I’d try to learn how to use the free version of SketchUp to make a model of what I thought I wanted, mostly to verify my dimensions and to have a prettier picture than my rough draftsman style sketch. I ended up watching a couple of YouTube tutorials: one on basic SketchUp concepts and another on modeling a workbench. After those two, I was able to produce something usable. You can see in the image that I originally intended to have 2 shelves in the middle section, with the top part for a divided silverware tray. I decided that space would be too difficult to paint and moved the tray to the top of the storage tote in the left hand section.
My father-in-law is a contractor by trade and has many contacts in the construction industry. He asked a local high grade cabinet maker what material we should use and 1/2″ Sign Board (aka MDO faced plywood) was suggested. With the working model in hand and a decision to use 1/2″ plywood for all of the box, I came up with a cut list:
- 2x 16″x24″ (sides)
- 2x 16″x40″ (top and bottom)
- 1x 25″x40″ (back)
- 1x 24″x39″ (door)
- 2x 24″x15.5″ (dividers)
- 1x 14″x15.5″ (right shelf)
- 4x 12″x15.5″ (middle and left shelves) (Only 2 of these ended up being used)
- Small pieces to double up where the lift handles mount to the sides
- Additional blocks for the eyescrews to screw into the front door where the support chain ends
- A pair of 2″x4″ “runners” approximately 16″ long to provide space for the gate hinges to operate.
Given the cut list, we needed two 4×8 sheets. He picked those up from Menards and we got to work in his shop.
 |
 |
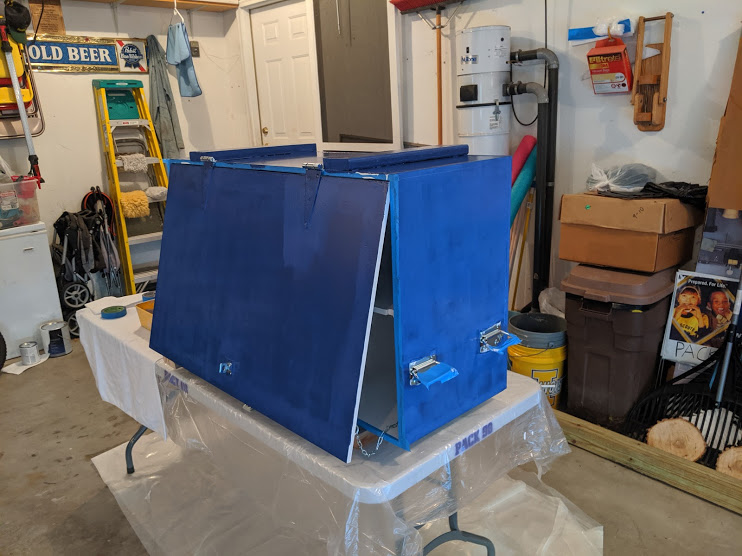
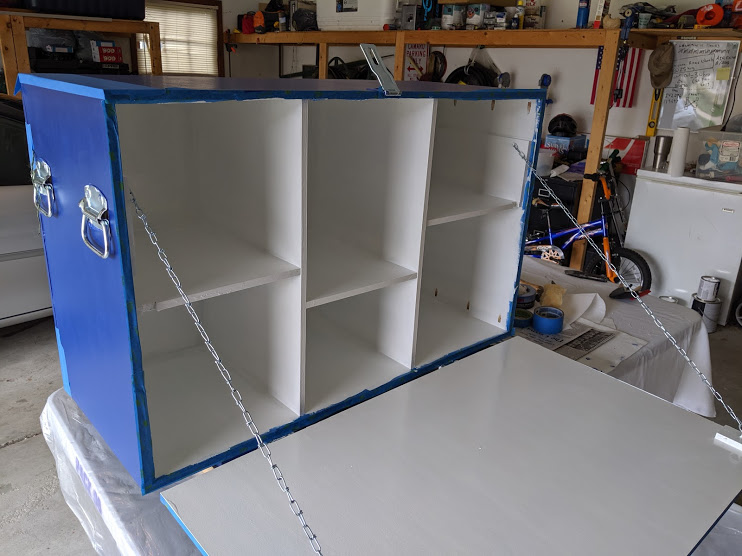
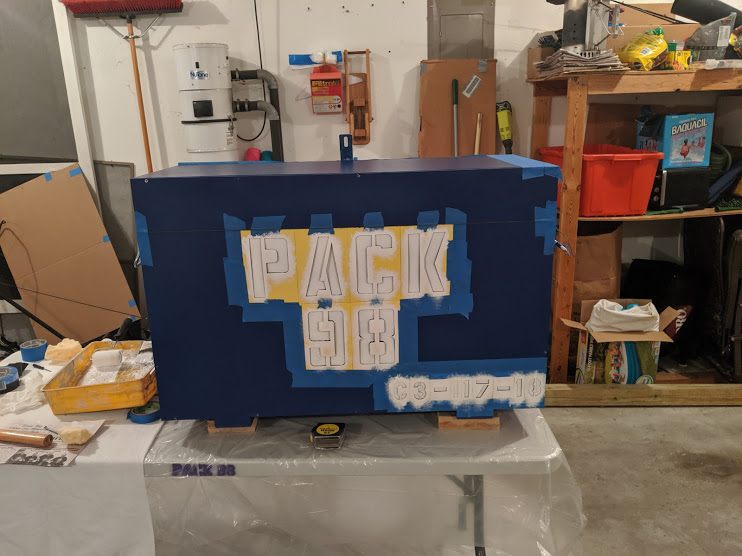
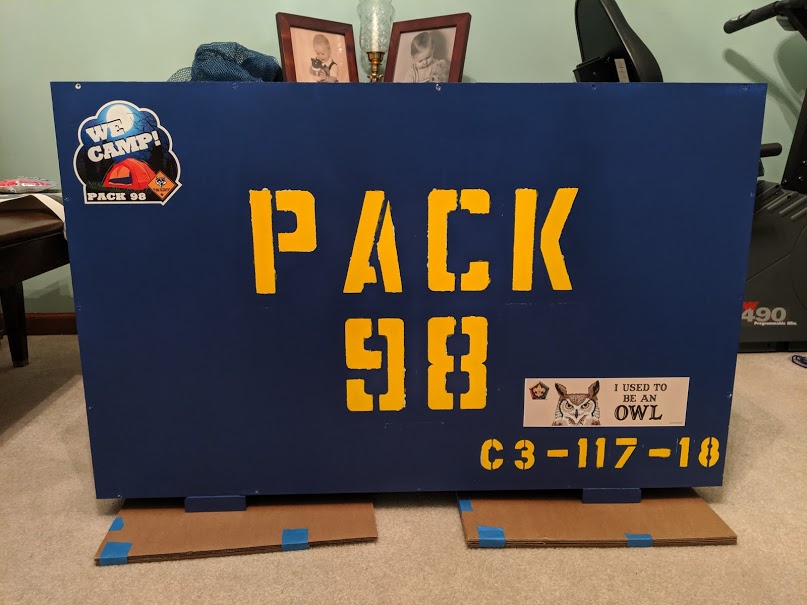
Doing the cut out took one evening and assembly was another afternoon and evening. The sides, dividers and shelves are held in place with pocket screws and glue. The back is glued and surfaced screwed around the outside edge. After getting it all put together, I took it back to my garage to put a coat of primer and two coats of indoor/outdoor furniture enamel on. After the base coats, I used a stencil set to add some text to the back.
 |
 |
 |
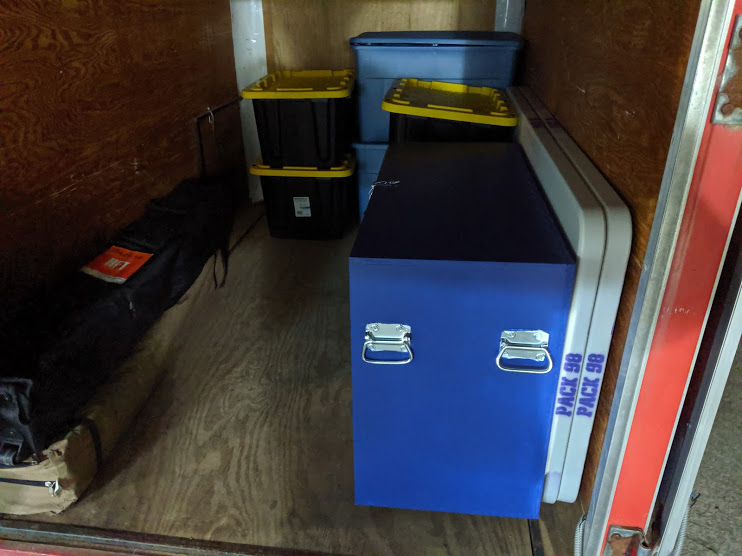
After the paint cured for a few days, the box had some stuff stored in it and then it got loaded in to our pack trailer to head out on a campout.
 |
 |
 |
Unfortunately, the campout was cancelled due to a forecast of heavy rain and temps in 40s, so there’s no action shot of the patrol box in a camp site yet.
Pingback: Wood Badge Training | Land of the Lemmings v2